Radish Greens

No, I didn’t know you could eat radish greens, either, until a couple of years ago!
To begin with, of course, I never even saw radish greens in grocery stores… Radishes came completely naked in little plastic bags. I did know, in theory, that they didn’t actually grow that way… but you sure couldn’t tell from the produce section. And while some greens are quite edible, indeed vegetables in their own right – such as beet greens or turnip greens – some are too tough or fibrous, and some may have mild toxins (rhubarb – and I always heard carrot, though I’m seeing that argued. I won’t eat carrot greens, though, until and unless I see something more definitive than I have so far.)

Well, it turns out that radish greens are routinely cooked and eaten in India. Many of the dishes that we are used to seeing made of spinach – Saag Panir, for example – are actually made from any assortment of a variety of greens, including radish. Now, they are a bit sharp tasting, so they are generally used (so far as I can tell) either in a mixture with other greens or in a dish with other flavors to mitigate the sharp flavor – dairy, for example.
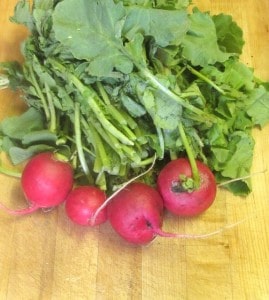
But meanwhile… the other greens are barely sprouting, but radishes grow very quickly, so I got a big bunch, including greens, from the farm market. And I will use them for my annual How To Cook Greens post. I like to write this, just as a reminder of method, a refresher, and, of course, for those who weren’t reading one or two years ago…
So – here are my most basic directions for cooked greens. I use this method for all but the toughest – I do not like collards cooked this way, or the sturdiest curly kale in late Fall and Winter. They really do need a long simmer. But most kale and most mustard greens do better with light cooking, to my taste, at least, than with simmering… and this is far and away the better method with anything else I’ve had to cook.

The first thing to really understand and remember is that, especially if you get them straight from the farm, greens tend to be muddy or sandy. Big commercial outfits actually have factories where they wash them – but that adds a day or two to the time they take to reach you. I’d rather get them fresher and wash them myself! (And they still really do need some washing – the machinery doesn’t get all the dirt, and they’ve sat around, and been handled, and – wash your vegetables.)
I usually cook the whole bunch at one time, I find it easier. And while you can separate leaves and wash them individually (and I do occasionally for a specific reason) I normally find it most effective to chop the bunch first, and then wash the chopped leaves. Most of the time, for most greens, I do keep the stems – but you may want to cut them out if they are woody, for instance, or even if you want to use them for another recipe (as you can with the thick stems of chard.)

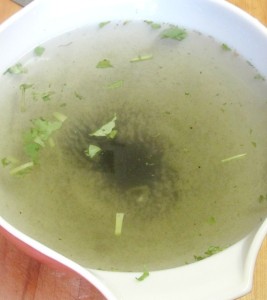
Now, here’s the key part – you can’t just drop them in a colander and run water over them. That won’t remove all the grit. The most effective method is to fill a sink – or a large bowl – with water, put the greens in the water, slosh them around, and then lift them out, leaving the dirty water behind. This was, in fact, a particularly muddy batch – I suspect it was harvested on a wet day – so you really see how much can be left! When the water is this dirty, I repeat the process, until I get a clear bowl. Then I put them in a colander or strainer, or even a salad spinner, and let them drip dry.
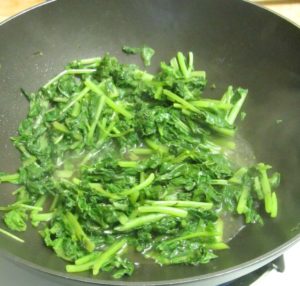
 You don’t want them completely dry – you’re going to cook them in the water clinging to the leaves – but you want only a little bit there. Take a large pan – fry pan, saute pan, wok – and heat just a little oil in it. Then add your chopped, washed leaves. Stir them around – I find it is easiest with tongs – so that all the leaves come in contact with the oiled pan. They will start to wilt pretty quickly.
 At this point, cooking will depend on your individual greens, your own taste, and sometimes, how you plan to use them. If you are cooking spinach to add it to something else that will cook more, you can stop now. If you are cooking something hardy like kale or mustard, you may want to continue cooking, stirring occasionally, for as long as ten minutes. The radish greens were in the middle – they’re not a tender green, but they were going to be further cooked so I didn’t want to overcook them.
Depending on your vegetables, though, you may find liquid collecting in your pan. Some of this may be from the leaves, if you didn’t get them dry enough, These were actually pretty dry, though – this liquid cooked out of the greens. You can boil it away, discard it, keep it for stock, serve it with the greens… there isn’t usually very much.
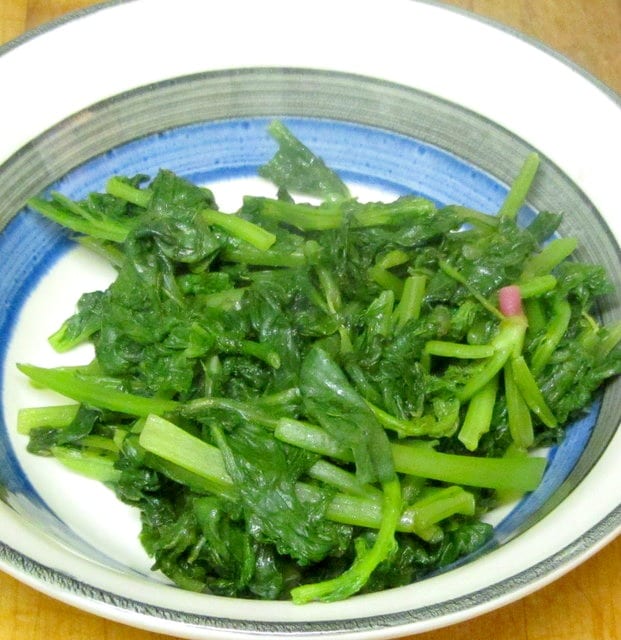
In this case, I left most of the liquid and some of the greens in the pan, and added them to the dinner I was cooking. Most of the radish greens I removed and drained – and used in my next batch of egg muffins. They were wonderful in them – there’s enough going on with the egg and ham that the sharpness of the radish was an accent, not annoying.
