Milk Kefir – Getting Started
“After all these antibiotics, it would be good for your mom to eat some probiotics” said the nurse. “Does she like yogurt?”
“I think that symptom may be caused by reflux” said the speech therapist. “Some probiotics would help. Does your dad drink buttermilk?”
“They eat both yogurt and buttermilk on their cereal every morning” I replied to each, “and sometimes they drink the milk kefir I make.”
“Excellent! That’s so much better! It has so many more probiotics than just yogurt/buttermilk!” they both exclaimed… “Put it on cereal! Use it in the protein shake! Give it to them as often as you can!” So now, we do.
I’ve made kefir for several years. Partly, sure, for the probiotics – always a good idea for someone with celiac disease – but mostly because it is easier to make than yogurt, and making it myself is cheaper than buying any form of cultured milk. Rich uses yogurt in his cereal, with a little water to thin it, and at one point we had a very tight budget – anyplace I could save a few dollars a week added up. I had not written about it here, since it didn’t seem to fit my “Make cooking easy” niche – but now? I’m certainly not the only daughter having those conversations…
Now, while making kefir is comparatively easy, it does take some attention on a daily basis, so it may make more sense for those who live with the people they care for, as I do. Or if you’re nearby, you can make it yourself at home (and enjoy it yourself, too!) and bring a bottle over when you visit. It does keep beautifully in the fridge, so that is no issue. Otherwise, just buy some… It can get expensive, though, so depending on your budget, you may want to use the yogurt/buttermilk combo more often. (Using both, if you can, is better than either alone, because there is a wider range of probiotics. And any at all is better than nothing… As always for caregivers, do what you can without making life too difficult.)
I will not go into the full scientific description of kefir here, because of space considerations. For the same reason, I won’t give the history (which I have not found good documentation for anyway…) It comes from the Northeastern Europe/Northwestern Asia area covered by Russia and the former Soviet Union. I first bought it from a little Russian store in my old neighborhood, and the parents had first had it, and enjoyed it, on a trip to Moscow many years ago. (Which helps – drinking it makes them feel sophisticated world travelers… ) And there is also something called Water Kefir, but I have never made or drunk it, so will not discuss it.
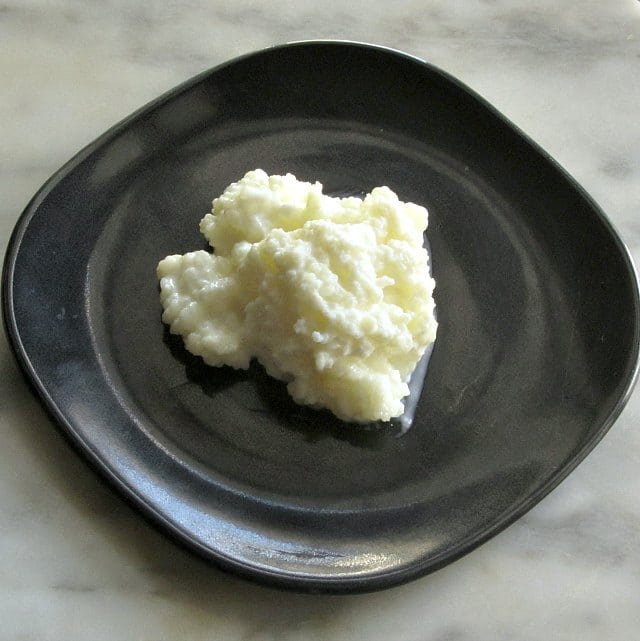
The hardest single part of making it is getting the so-called kefir grains. Unlike yogurt or buttermilk, you can’t simply mix the cultured milk product you buy with plain milk and get more cultured milk… However, you also don’t have to fuss about room temperature, it is pretty hard to kill the culture, and once you have it going you just keep getting more and more grains… so many people share them.
You can buy them online – Cultures for Health and Gem Cultures are two sources I have heard of. I have never used them, but they have a good reputation. And there are many other commercial sources. But I got mine from a sharing group on Facebook! A woman had dried grains, and sent them to me in an envelope. (Most in the group send packets of fresh grains, and so there is some fussing with sealed bags and sending postage money, and… but then you don’t have to reconstitute them, as I did.) You can also see if there is someone local – when I was in New York I shared grains with quite a few people, though I’m not doing that now.
Directions
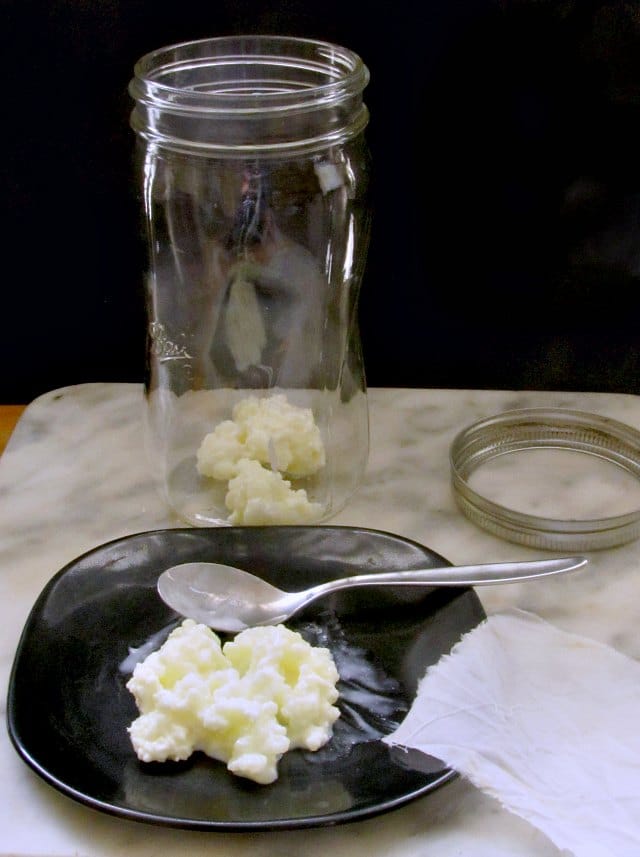
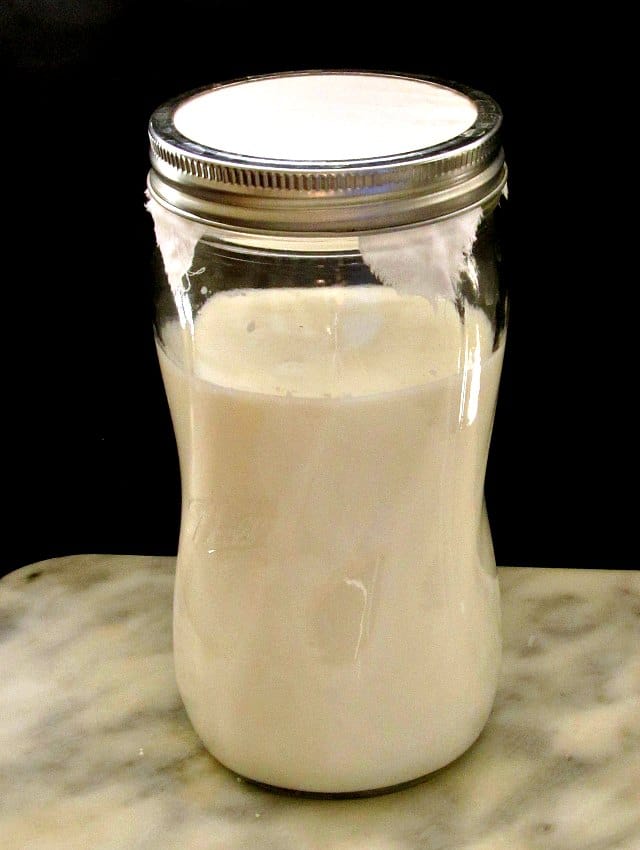
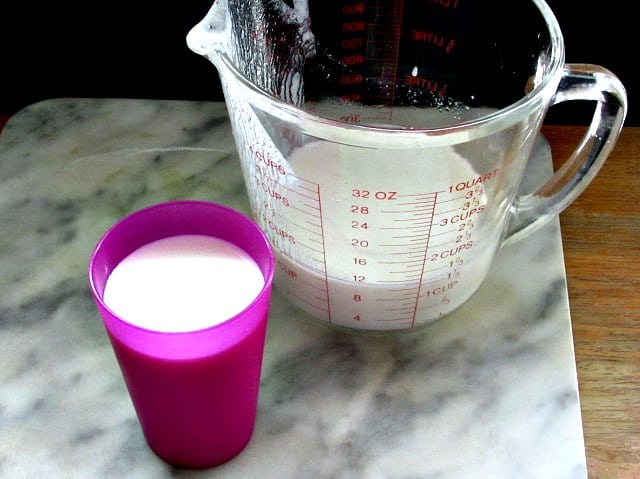
Once you have the milk kefir grains, actually making the milk kefir is incredibly simple. Put a spoonful of grains in a jar. (Pick one that is easy to wash – I find canning jars convenient.) Add milk. I would start by making about one cup at a time – you can always increase later. Cover it with light fabric or a paper towel – something that air can get through, but that will protect your kefir from dust, bugs, and anything else you don’t want in there… (Another reason I like canning jars – I hold the cover in place with the ring. But a rubber band works just as well.) Now, put the jar someplace room temperature that it is out of the way, and assume that you will leave it there for a day, give or take.
The so-called grains (which, let me be clear, are not grain at all, but called that because of their appearance) are intensely complex, living, good bacteria. They will adapt to the new conditions in their new home. So the first time you use them, they may take longer to culture the milk, so don’t let that surprise you. Or they may be very rapid, so check… But I will continue the discussion of the next step – and trouble shooting – in my next post!